PC Case Wraps: Custom Styling and Durability
Updated: Oct 10
You've got a case that performs well, but it still looks like a generic box under your desk or behind a monitor arm. That's the moment many builders start looking at pc case wraps, because a good wrap can change the look fast without committing to paint, powder coat, or a permanent mod. The catch is that the wrap has to stay cosmetic, respect airflow, and come off cleanly later if you ever sell, upgrade, or rebuild.
Table of Contents
Understanding PC Case Wraps and Customization - What the wrap is really doing
Comparing Vinyl Materials and Expected Lifespan - Cast versus calendered in real builds - What that means for gaming and workstation systems
Protecting Airflow and Thermal Performance - Where wrapping is safe, and where it isn't - The rule for finished builds
Surface Preparation and Application Techniques - The prep sequence that holds - The hidden risk with custom paint
Long-Term Durability and Removal Realities - What can go wrong over time - Warranty and removal
Evaluating Custom Builds Versus DIY Wrapping - How to decide without guessing
Understanding PC Case Wraps and Customization
A builder usually starts here after the rest of the rig is already dialed in. The GPU is mounted, the cables are cleaned up, the fans are tuned, and the only thing that still feels unfinished is the chassis exterior. A wrap solves that problem without turning the case into a forever project, which is why it has become a practical option for people who want a different look but don't want to repaint a perfectly functional enclosure.
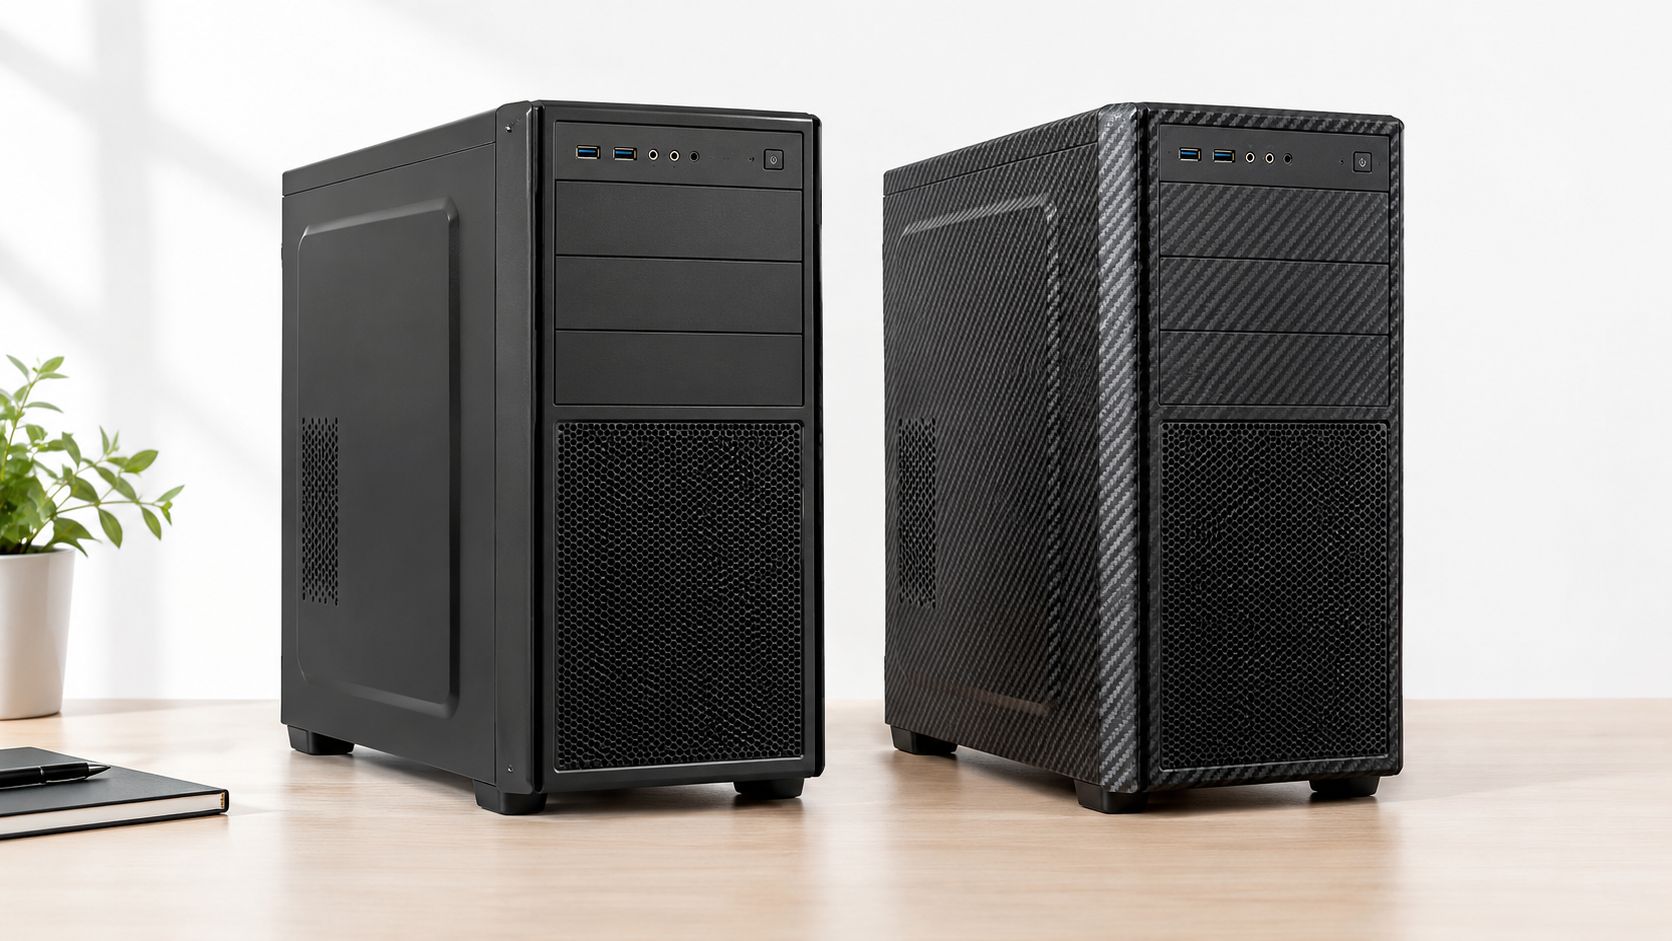
PC case wraps are thin, self-adhesive polymer films applied to the exterior panels of a computer chassis to change color or pattern, protect against light scratches, and allow reversible customization without repainting the case, and common automotive-grade films like 3M 1080 and 3M 2080 are generally about 3–4 mil thick as documented in the reference guide. That thin profile matters because it lets the film bend around panel edges without adding much bulk. It also explains why wraps are about surface presentation, not structure.
What the wrap is really doing
The best mental model is simple. A wrap is a removable skin for the outside of the chassis, not a repair layer and not a substitute for fixing damaged hardware. It can make a clean factory case look like brushed metal, matte stealth, carbon fiber, or a custom colorway, while keeping the original finish underneath.
Practical rule: if the panel is bent, the port is damaged, or the case has liquid damage, a wrap won't solve any of it.
That distinction matters for high-end builds, where owners often care as much about serviceability as they do about appearance. A wrap can help you personalize a case while keeping the underlying chassis accessible for future upgrades, cleaning, or resale. A useful overview of how builders think about that balance appears in this customization guide.
Comparing Vinyl Materials and Expected Lifespan
A clean-looking wrap can still be the wrong material for a performance case. Once a chassis heats up, cools down, and gets handled during dusting or upgrades, film choice affects edge lift, finish stability, and how much patience you'll need later. Premium cast vinyl and standard calendered vinyl behave differently, and that difference matters more than the color chip on the product page according to the material comparison.
Cast versus calendered in real builds
According to wrapsize's material comparison, premium cast films are rated for longer service life than standard calendered films, and they are usually the safer pick for a case that will see regular handling per the wrapsize material comparison. Independent manufacturer guidance lines up with that general pattern. 3M's product pages for its cast wrap films describe material designed for durable, conformable installs, while Avery Dennison's wrap film information also emphasizes conformability and long-term appearance retention on suitable surfaces.
Vinyl Wrap Material Comparison | Thickness (mil) | Expected Lifespan |
|---|---|---|
Premium cast vinyl | 2.0 | 7–10 years |
Standard cast vinyl | 2.5 | 5–7 years |
Premium calendered vinyl | 3.0 | 3–5 years |
The table is useful because it shows the trade-off at a glance. Thinner cast film can conform better around panel edges and corners, while thicker calendered film may feel stiffer and is usually less forgiving on tight curves or detailed cuts. In practice, the better choice is the film that matches the case geometry and the amount of maintenance the system will need.
What that means for gaming and workstation systems
A gaming tower or creator workstation is not a static display piece. Fans vibrate, panels warm up, the interior cycles through heat and cool-down, and the case gets moved for dusting or cable work. A wrap that looks fine on day one can still start lifting at edges or show wear early if the material is too stiff, the surface prep was sloppy, or the chassis lives in a hot room.
Buy for the environment, not the swatch. A flagship build that will stay in service for years deserves a premium cast film. A temporary cosmetic refresh on a secondary rig can justify a cheaper calendered option.
The trade-off is practical. Better material usually costs more and takes more care to install, but it gives you a finish that is easier to live with during routine maintenance and future teardown. Lower-tier film can still work, but it makes more sense for a short-term visual change than for a build you expect to open, clean, and service repeatedly.
Protecting Airflow and Thermal Performance
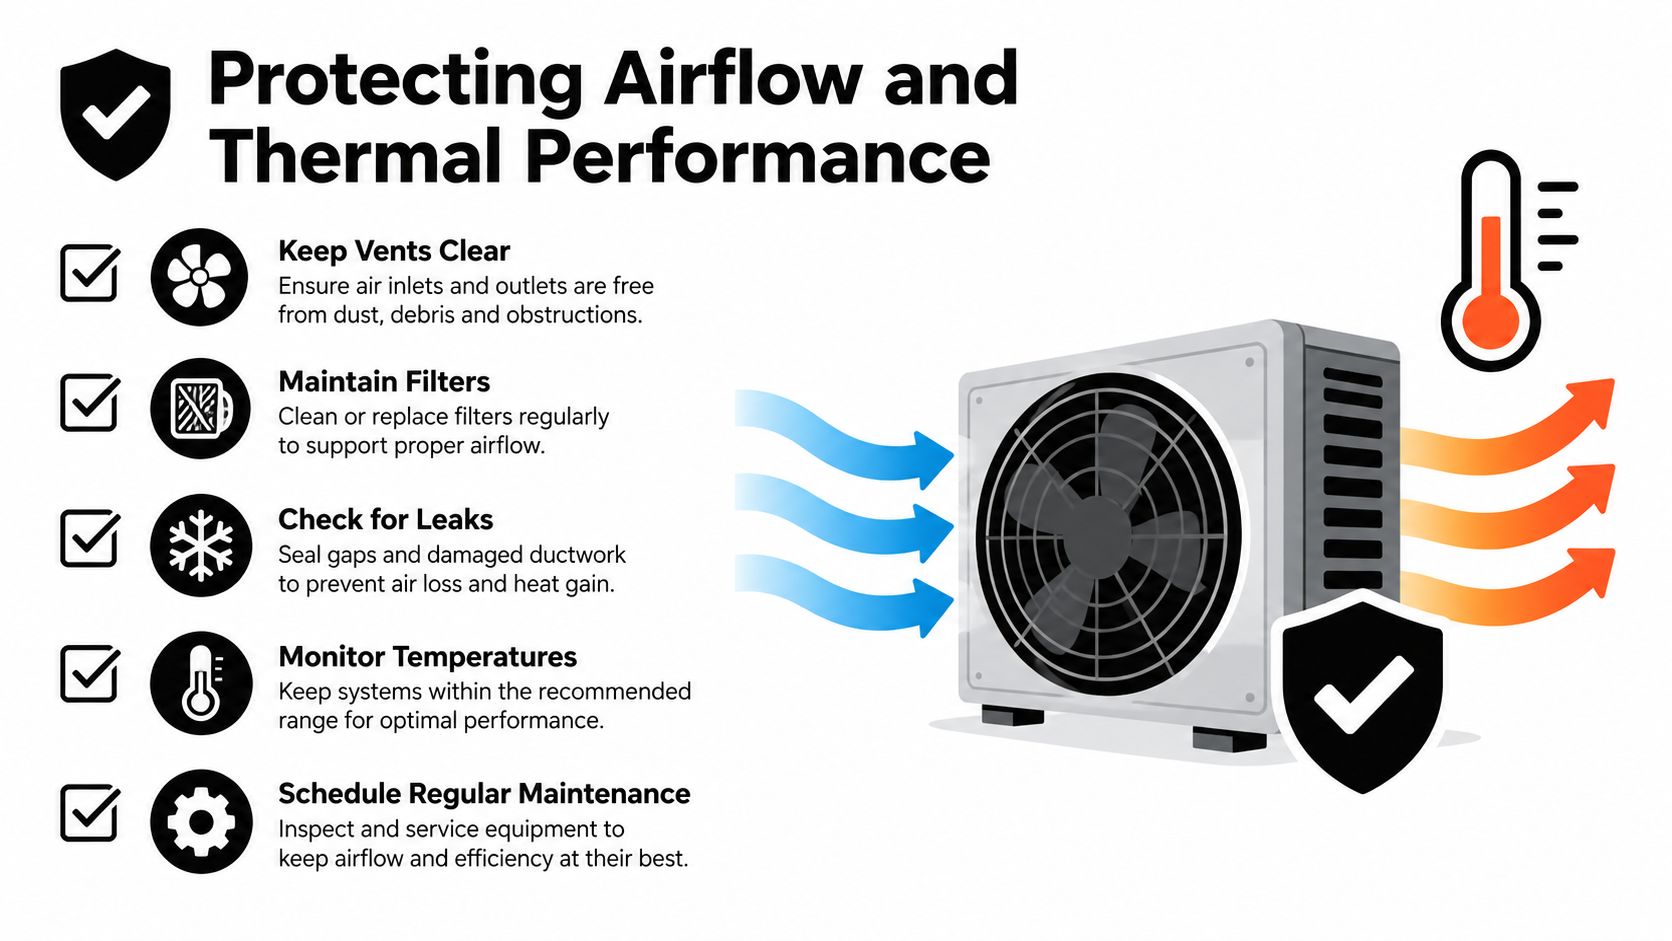
A case wrap should be treated as a cosmetic layer, not a blanket for every visible surface. High-performance PCs depend on clear intake and exhaust paths, and film over vents, perforations, or radiator openings can add resistance that a tuned cooling setup was never meant to carry. That caution is part of the airflow guidance as noted in the airflow guidance.
Where wrapping is safe, and where it isn't
Solid side panels, non-ventilated PSU shrouds, and plain outer sections are usually fine. Intake perforations, exhaust grilles, radiator cutouts, and PSU ventilation should stay open. Covering a ventilated panel with solid film changes how air moves through the case, and the effect depends on the open area, hole shape, film thickness, and fan pressure behavior.
Trim around every airflow path instead of wrapping over it and hoping the fans will compensate. A balanced intake-and-exhaust layout can end up louder if the fans have to work harder to pull air through restricted openings, and temperatures can rise with it. Keep the wrap off heat-exposed zones, especially around radiator exhaust and hot heatsinks.
The rule for finished builds
Preserve the case's original vent area, then verify temperatures before and after wrapping under the same workload. In ForgeOne's build-focused overview, pre-shipment stress testing is used to compare before and after performance, which is the right mindset here as well. If the wrap changes how the system breathes, it is no longer just a visual upgrade.
A builder who cares about stability should treat airflow as fixed and design the wrap around it, not through it. That protects performance, and it also keeps service work simpler later when panels need to come off for dusting, cable changes, or hardware swaps.
Surface Preparation and Application Techniques
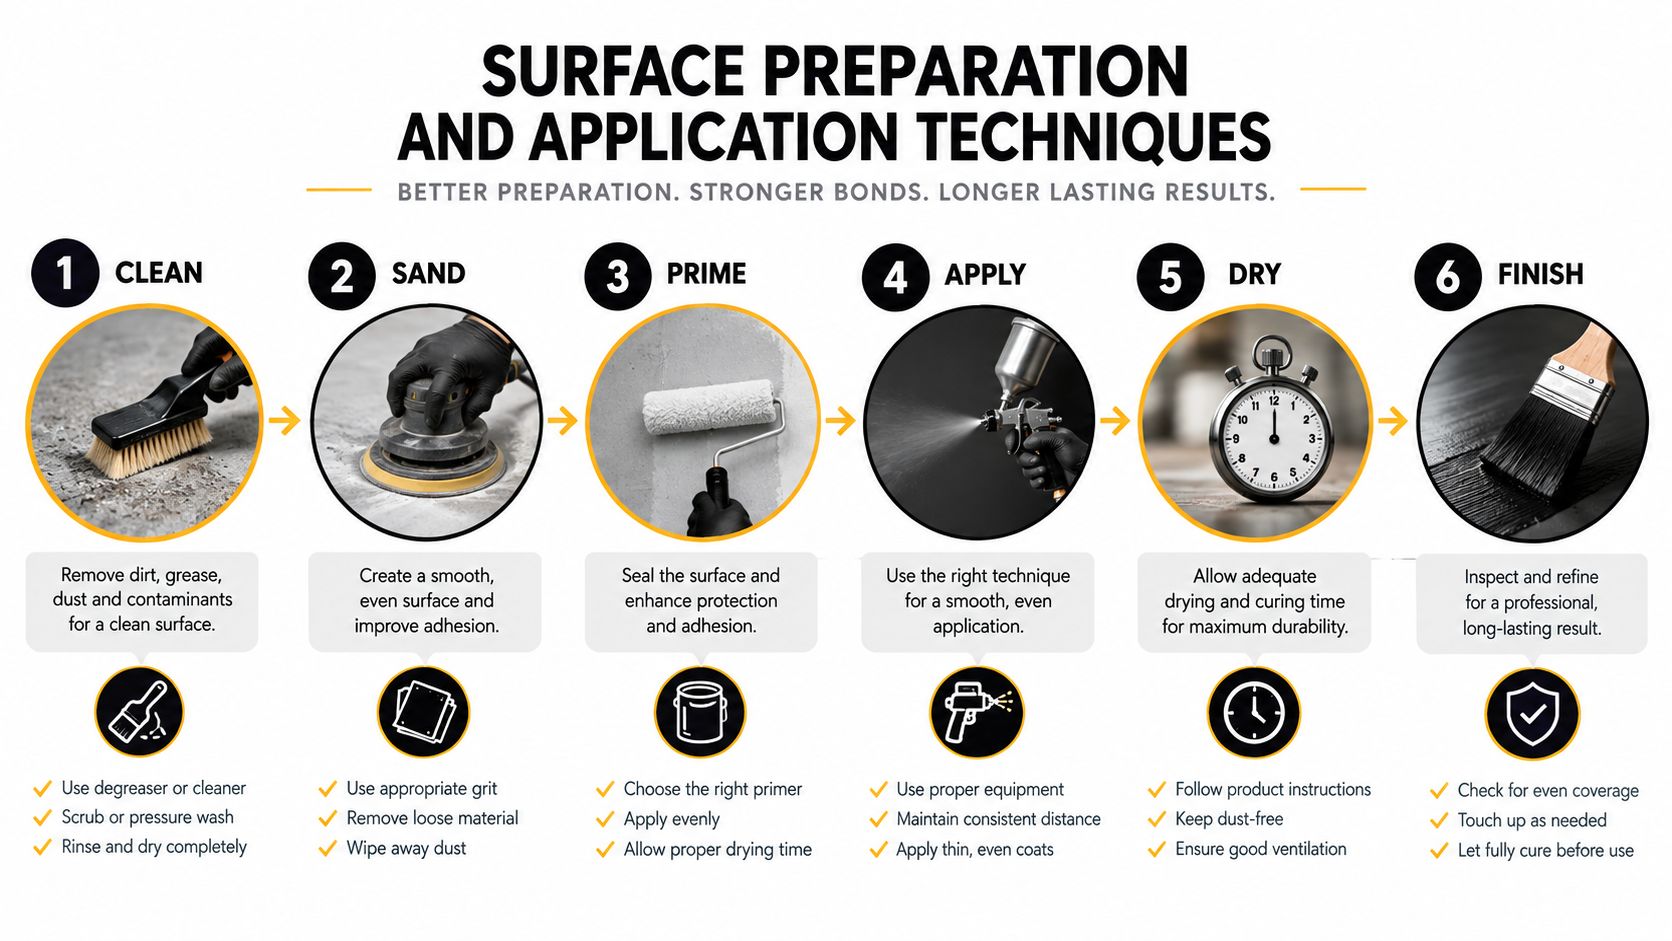
A wrap job starts before the first panel gets film. The panel has to be clean, dry, and smooth, and the install space has to sit inside the film maker's range. For one 3M film specification, that means 16–32°C (60–90°F) for application, with a dry, not wet installation method per the technical sheet.
The prep sequence that holds
Start by degreasing the panel. Remove dust, fingerprints, and any silicone contamination. Then let the case sit in the application space long enough for the panel and film to share the same temperature band. That matters more than trying to pull extra tension into the vinyl, because poor prep is what leads to edge lift, bubbles, and adhesive transfer later.
Clean thoroughly: strip oils, dust, and residue from the panel.
Check the temperature: keep the air and substrate inside the stated range.
Dry fit the film: align before final adhesion.
Apply without moisture: use the dry method specified by the film maker.
Use heat carefully: conform the wrap around edges, don't use heat to cover bad prep.
Inspect the edge work: look for trapped air, tension points, or weak corners.
The hidden risk with custom paint
Wraps on paint that has not fully cured are a bad bet. The adhesive can bond more aggressively to a coating that has not stabilized, which makes removal harder later and raises the chance of finish damage. Fresh paint or custom coating needs full cure time before wrapping, even if the surface looks dry to the touch.
Best practice: controlled heat is for shaping around edges, not for rescuing a dirty or uncured panel.
The same film specification rates the material for roughly −60 to +107°C (−65 to +225°F) after installation, while warning against long exposure at the extremes. For a PC case, that means the wrap belongs on room-temperature exterior surfaces, not on areas that sit under sustained hardware heat.
Long-Term Durability and Removal Realities
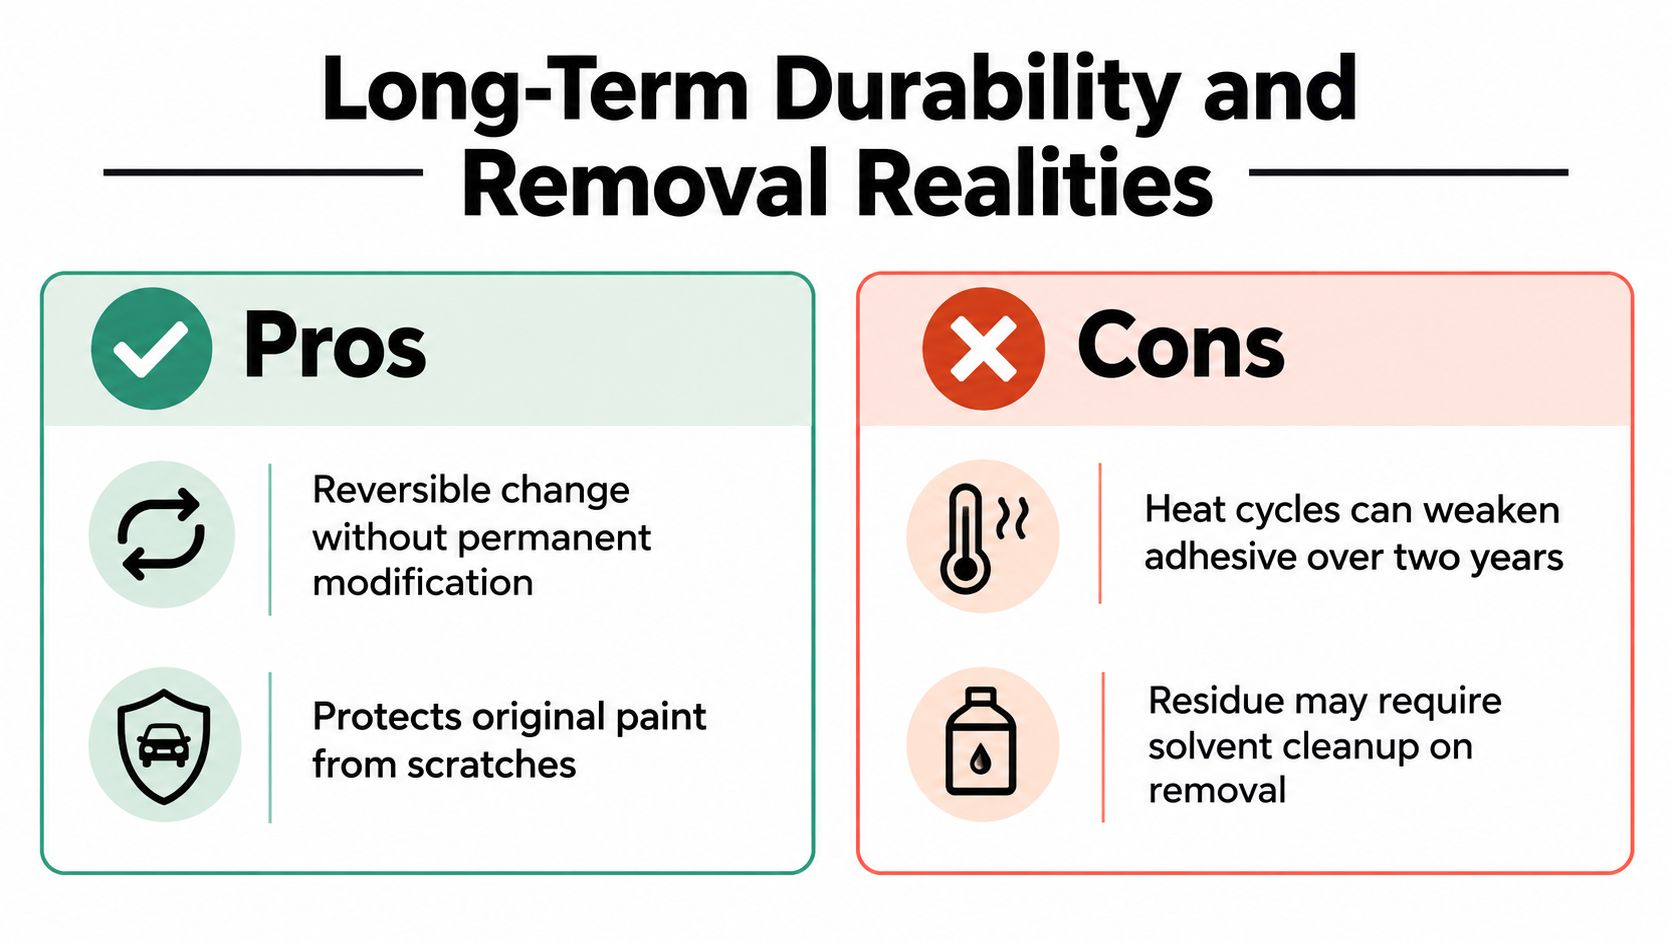
A wrap looks finished on day one, but the true test starts after heat cycling, dust buildup, and regular handling begin to work on the adhesive. Removal matters just as much as installation, because the same film that protects a finish can also leave residue, lift paint, or mark textured powder coat and anodized aluminum as summarized in the removal guidance.
What can go wrong over time
The mistake is assuming every wrap peels away cleanly. Finish type, adhesive age, and heat exposure all change the result. One cited comparison claims only 37% of marketplace ATX decals held full adhesion after 500 thermal cycles, though the test method and independence are not clearly established, so treat that figure cautiously per the alibaba vinyl-vs-static-cling comparison.
That is why a small patch test makes sense before a full application. Textured powder coat, anodized aluminum, and custom painted panels do not all react the same way. If a sample pulls finish, stains the surface, or leaves stubborn adhesive, the problem should show up on a hidden spot, not across the whole case.
Warranty and removal
Warranty outcomes depend on the maker's written terms, and cosmetic modification alone does not settle the issue. The main concern is whether the wrap caused damage, left residue, or blocked a service label, screw point, or serial number. In practice, a removable film can still create a service headache if it hides access points or comes off with finish attached.
Practical removal rule: use low heat, peel slowly, and avoid forcing edges that already started to lift finish.
For the safest outcome, document the case before installation, keep labels and access points clear, and remove the film with patience instead of speed. That will not remove every risk, but it gives the chassis a much better chance of coming back to a serviceable state.
Evaluating Custom Builds Versus DIY Wrapping
A wrap makes the most sense when the case is already right and only the exterior look needs work. If the chassis has strong airflow, clean cable paths, and solid structural integrity, wrapping can be a smart way to personalize the system without changing how it performs. If the case is awkward to service, runs hot, or already has finish issues, a cosmetic film can become a workaround for a larger problem instead of a real solution.
How to decide without guessing
A DIY wrap fits best when the build is stable, the panels are removable, and you're comfortable with prep, patience, and careful trimming. It fits poorly when the case has vent-heavy panels you can't avoid, when the paint is fresh, or when future warranty questions matter a lot. In those situations, a purpose-built system with a factory finish and validated thermal layout is the cleaner path, especially for users who want performance and presentation to stay aligned as discussed in this custom-build overview.
The decision is easier if you check a few things before committing:
Verify airflow first: keep intake and exhaust paths open.
Inspect the finish type: test a hidden spot if the panel is coated, anodized, or textured.
Confirm service access: preserve screws, labels, ports, and buttons.
Think about maintenance: plan for dusting, heat cycling, and eventual removal.
A wrap is the right answer for the builder who wants a cosmetic change and understands the limits. It's the wrong answer if the aesthetic goal starts interfering with cooling, serviceability, or long-term ownership. That line is what separates a clean customization from a maintenance headache.
If you want a system that already balances appearance, airflow, and build quality, ForgeOne can help you get there without gambling on a risky wrap job. Explore ForgeOne for built-to-order desktops, custom configuration support, and systems that are assembled and validated before shipment.
Created by ForgeOne


Comments